Survey Galaxy Tutorial | Styles | Customizing a Surveys Style
Customizing Survey Style
Survey Galaxy makes it easy to customize the survey style and allows modification
of the survey's display attributes such as the colour of the background, font
styles and the text size and colour.
To minimize the number of display attributes that need modifying it is recommended
that before starting to customize a survey style a predefined style that is
closest to the style that you require is chosen.
To choose a predefined style use the 'Style' select box to choose from
the predefined system styles or previously defined personal styles.
If you select a predefined system style and want to customize it you will be required to provide a new
name and a copy of the system style will be made.
If you select a predefined personal style you will be able to modify the existing
style but please note that if the style has been applied to other surveys any
changes to the style will be applied to all surveys using that style. If you
do not want to affect other surveys you must make a copy of the personal style
and provide a new style name.

The customize style facility is activated from the Composer's
Preview Pane Mode panel by clicking on the 'Styles' option.

Setting the Default Attributes
To change a survey's common display attributes such as the default font and
background colour click on the 'Defaults' button.

A reminder that choosing a style closest to the required style
will save you considerable time will be displayed.
Click on 'OK' to acknowledge the message and continue.

If the selected predefined style is a system style you will be
asked to provide a name for the new style, enter a name and then click on the
'Apply' button.

You can select any of the customizable elements from the 'Elements' list box, because the 'Defaults' button was selected the element will
automatically be set to 'Survey Background (Default Settings)'.

To change the survey's background colour click on the 'Back
Colour' select button.

A colour selection tablet will be displayed, click on the required
colour.

Then click on the 'OK' button.

To change the default font for the survey click on the 'Font' selection
box.

Choose from the available fonts the font required.

The sample box will show the effects of the display attribute
selections made and you can continue with other changes such as the font size,
weight, colour and alignment.
When you have completed all the changes click on the 'Apply' button to implement the changes.

You can continue by selecting other survey elements from the 'Element'
selection and click on the 'OK' button when all the changes have been made.
The Composer's Preview Pane display will show the effects of the
changes made.

If you want to change the display attribute for a particular part
of the survey, while the Preview Pane Mode is set to 'Styles' simply click
on the area that you want to change, for example if you wanted to change the
style of a grid table click on the part of the grid that you want to change:

This will automatically display the style control box and automatically
select the 'Grid Headings' element. Make the necessary changes and click
on the 'Apply' button.

Likewise if you want to change the colour of a grid's body, click
anywhere on the grid's body.

Make the necessary selections and then click on 'Apply'.

The survey will be re-displayed showing the new grid body display
attributes:-

Survey Galaxy groups the elements that make up a survey and will
automatically apply any changes that are made to one element's display attribute
to all the similar elements making the process quick and simple, in the above
example if the survey contained other grids, or further grids were added, they
would all inherit the grid display attributes.
Because similar elements are grouped, if for example we wanted the questions
in our sample survey to stand out more, we might want to increase the size of
the font.
With the elements grouped we do not need to change the display
attribute one by one for each individual question, instead we can click on any
part of any question, here we have clicked on part of question 6:-

The display attribute box for that element type, in this case
the Questions will be displayed. For the example we will increase the font size
and click on 'Apply' for the change to take effect.

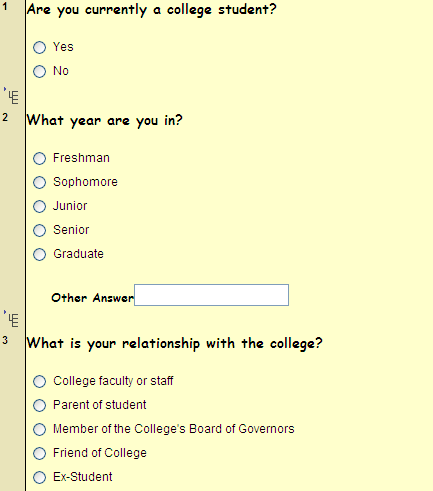
The composer's survey display will be re-displayed with all the
questions adopting the new font size:

To deactivate the 'Styles' facility set the Preview Pane
Mode to 'Normal'.

With the Preview Pane mode set to 'Normal' the display attributes
will be locked and you will be able to click anywhere on the preview pane display
without triggering the display attribute dialogue box, this will allow you to
test your survey design.
Selecting Styles
Once a customized style has been saved it will be added to the
predefined personal styles library and can then be applied to any existing or
future survey by selecting the style using the Composer's 'Style' pull
down list.

|