Microsoft Outlook 2003 Mail Merge
This document describes the basic steps in Microsoft Outlook 2003's mail merge process, alternative applications to Microsoft's Outlook are likely to have similar facilities.
The mail merge facility is ideal when you want to create a set of documents that are essentially the same but where each document contains unique elements. For example, in an email that invites people to participate in a survey, your company logo and the text about the survey will appear in each email, and the email address and greeting line will be different in each email.
Using mail merge, you create one document that contains the information that is the same in each version but includes some placeholders for the information that is unique to each email. The data source, containing the individual information, can be stored in an Outlook contact folder, listed in a spreadsheet, stored in a database or you can create a new list on the fly.
This example will setup a mail merge to achieve the following:
- From a list of names and email addresses, personalised emails will be created
- Each email will canvas the individual using their full name and title
- The email will contain a generic message
- The hyperlink to the survey will include a reference so that the respondent can be identified
Spam
Survey Galaxy does not advocate the use of mail merge facilities to conduct spam campaigns.
Mailing List and information
A Mail Merge requires a source document that contains the list of names, email addresses and other relevant information. In considering what information is required you should take into account the information you will want to use within the email invitation (such as each person's title, first and last name) and information that, if necessary, will allow you to make selections from the full list, for example you may want to mail separately male and females.
For the purpose of this document a list of names and email addresses have been compiled into an Excel spreadsheet.

Because we want to be able to identify the responses we receive to each individual without having the respondent enter identifying information within the survey itself, we will create a new 'Ref' column and assign unique reference numbers to each address.
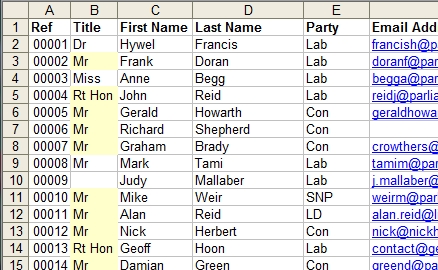
Tip: To generate unique sequential reference numbers simply enter the reference numbers for the first two items then select the two references, click and hold on the bottom right of the selection box and drag the selection box down to the bottom of the column and then release, all the unique numbers will be generated automatically. |
The reference value will be included in the link to run the survey so that those that have started the survey can be identified allowing the option to issue a periodic reminder to people who have not yet completed the survey.
The spreadsheet information can now be saved as a CSV (comma delimited) file format.

Importing the mailing list to Microsoft's Outlook 2003
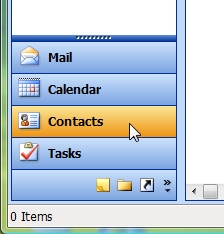
Open Microsoft's Outlook and click on the 'Contacts' tab:
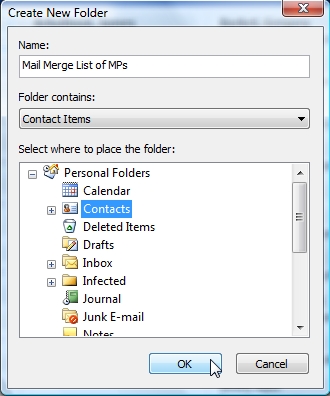
Create a new folder to store the mailing lists, by selecting the menu options 'File', 'New', 'Folder'.
In the 'Create New Folder' dialogue box enter a name for the new list, highlight the 'Contact' entry in the 'Select where to place the folder'' and then click the 'OK' button.
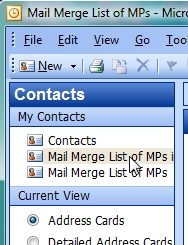
Select the new folder by clicking on the new entry that will be included in the 'My Contacts' selection.
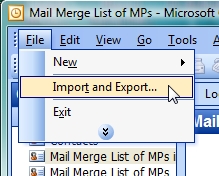
Click on 'File', 'Import' 'and Export' menu options.
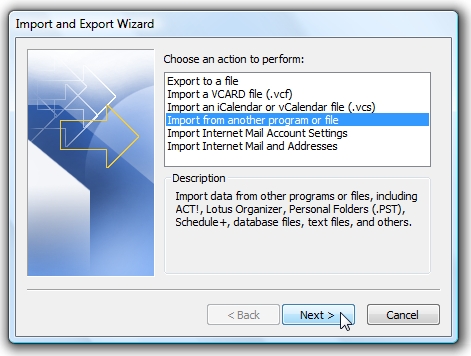
Select the 'Import from another program or file'' and click the 'Next>' button.
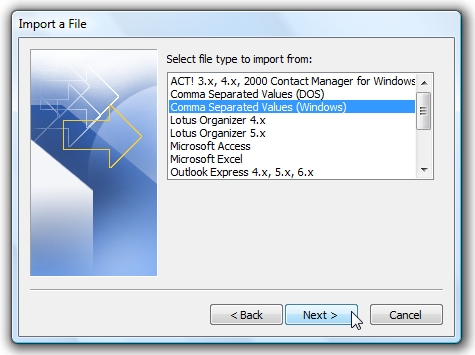
Select the 'Comma Separated Values (Windows)'' and click on the 'Next>' button.
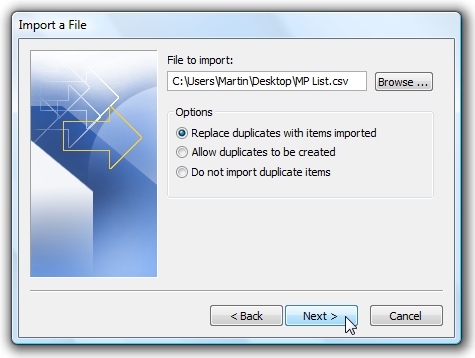
Use the 'Browse' facility to locate the CSV file saved earlier and then click on the 'Next>' button.
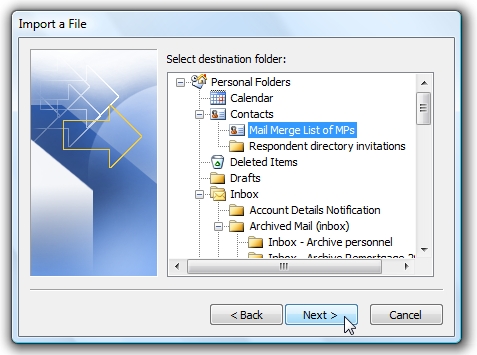
Select the destination folder by highlighting the folder created earlier and then click on the 'Next>' button.
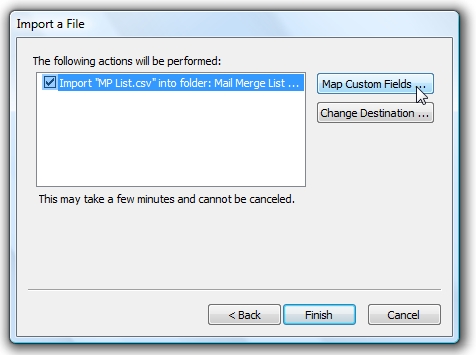
Click on the 'Map Custom Fields' button
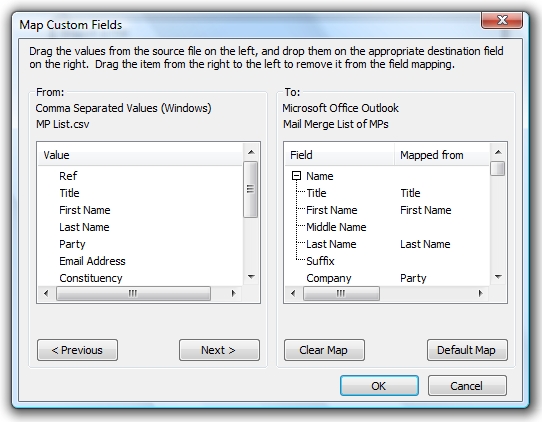
Select and drag the 'Values' that you want to use from the CSV file , displayed on the left, to the correct 'Field' of the Microsoft Office Outlook contact record on the right.
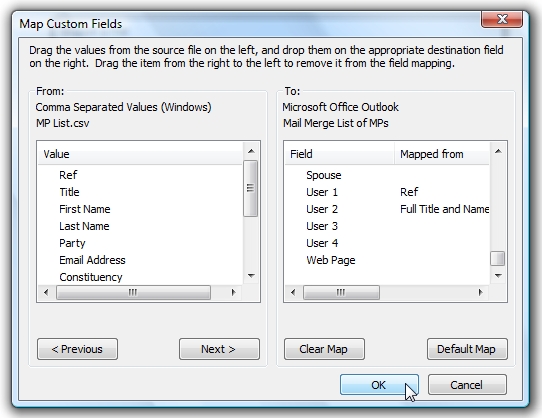
If there is no suitable field to map the data you want, use the 'User fields', for the example used here the 'Ref number' will be mapped to the contact's 'User 1' field. Click on the 'OK' button when all the data you want to use has been mapped.
Click on the 'Finish' button.
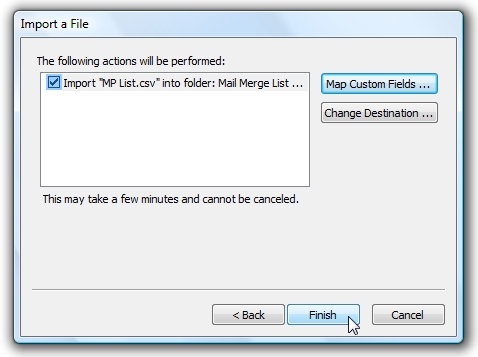
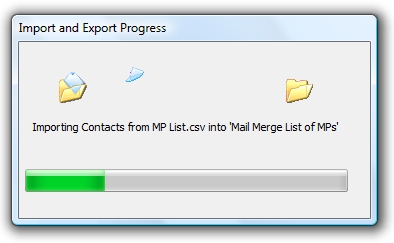
The contact information will be imported into the new contacts folder.
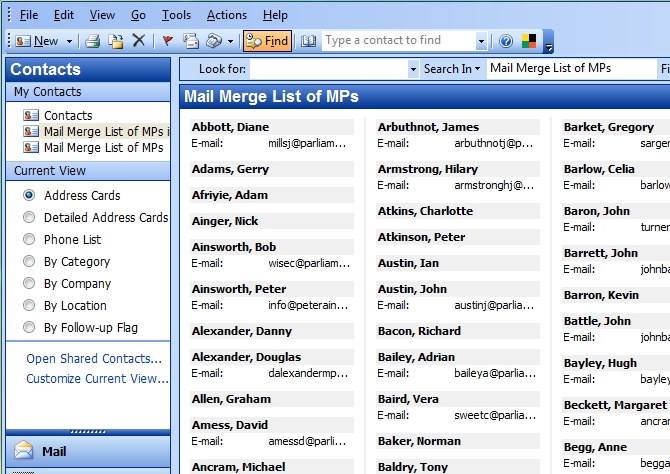
Once imported you will have a list of contacts that can then be used with the mail merge.
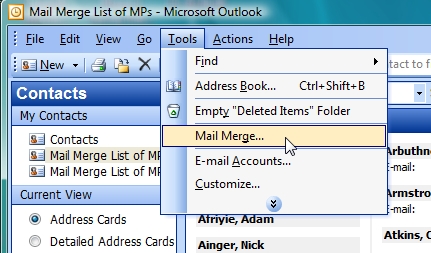
Select 'Mail Merge...' from Outlook's 'Tools' menu option.
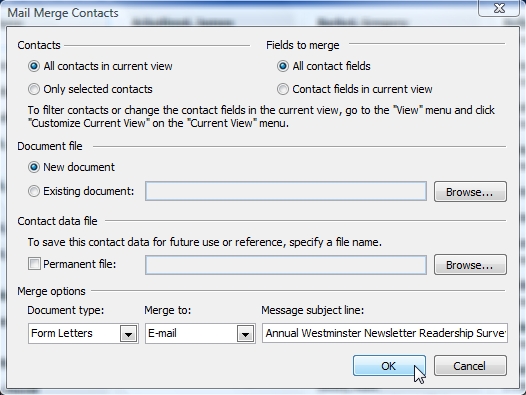
You have various options that are available to you, view your Microsoft Outlook 2003 Mail Merge documentation for full details, once you have chosen the setup that is most appropriate click on the 'OK' button.
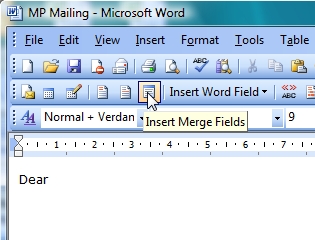
To insert a variable field, position the cursor at the point in the template document you want the field to appear and then click on the 'Insert Merge Fields' button.
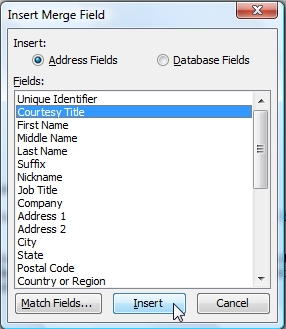
Select the Insert 'Address Fields' option and then highlight the field you want to use and click on the 'Insert' button.
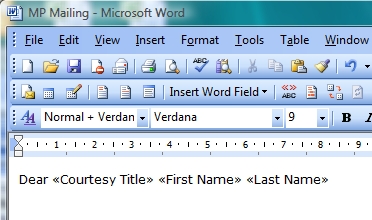
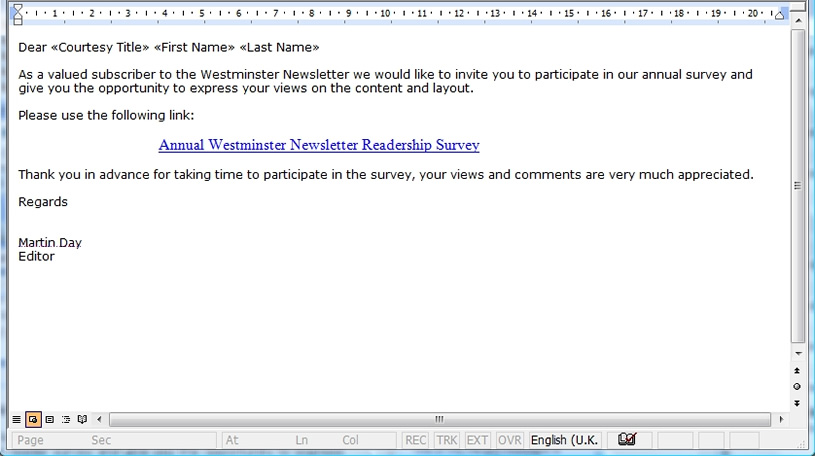
Repeat this process for all the fields that you want to use, for example below we have used Courtesy Title, First Name and Last Name, ensuring that there is a space between each field.
Complete the document, inserting fields where they are required.
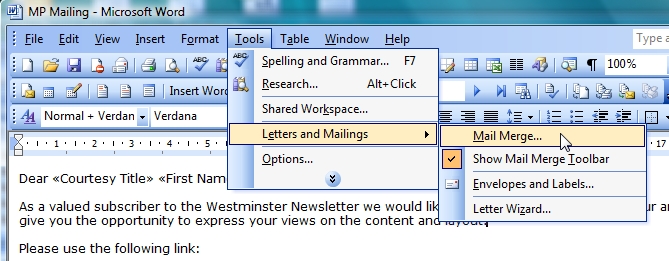
Once the document has been prepared click on the 'Tools' option and select the 'Letters and Mailings' and 'Mail Merge' option.
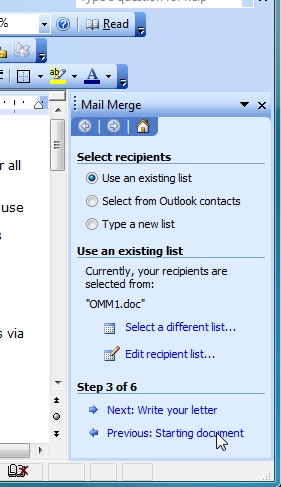
A 'Mail Merge' process box will be displayed to the right of the template document. Using the process we have used it will start at Step 3 of 6 and we recommend that you use the 'Previous' options to step back to Step 1.
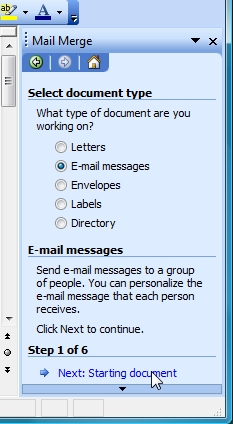
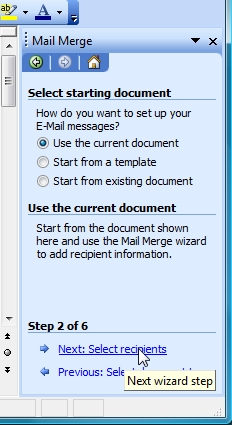
For this example we want to send email so we ensure that the 'E-mail messages' option is selected and then advance to Step 2.
When we are satisfied with the current document we can advance to Step 3.
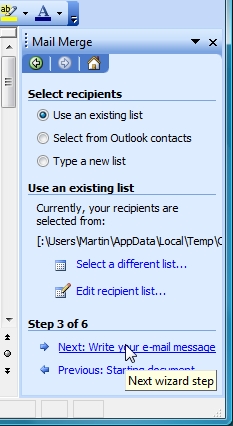
We do not have to merge the information from all the records (rows) in that data file into the template document. After we have connected to the data file that we want to use (in this case the new contact list) we are able to select a subset of records for the mail merge by sorting or filtering the list. For more details please refer to your Microsoft Mail Merge help documentation.
Once we are satisfied with the contacts list and selection we can advance to Step 4.
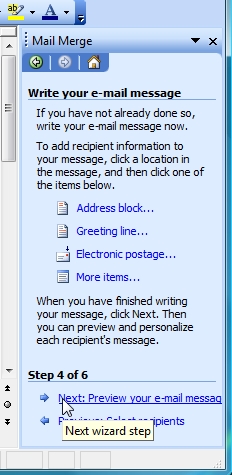
When we are satisfied with the e-mail message setup we can advance to Step 5.
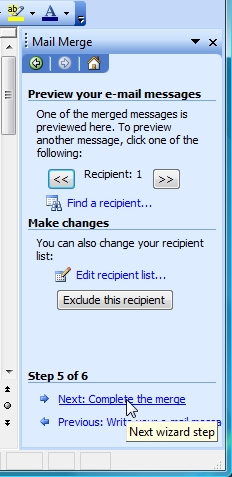
A preview of the mail merge will be displayed, we are able to use the 'Back' and 'Forward' buttons to step through the contacts enabling us to review and confirm that the fields we have used are returning the correct information, in this case the Courtesy Title, First Name and Last Name have been substituted with the first contact's data.
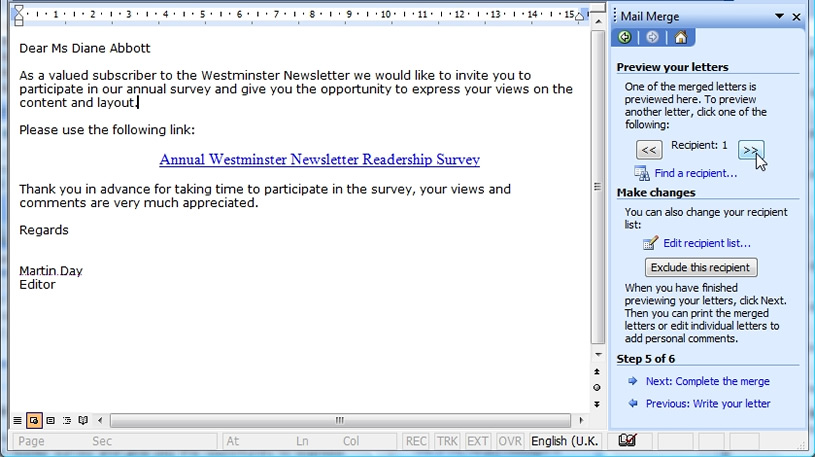
If necessary we can step back to any of the previous steps to make any adjustments. When we are satisfied that the setup is complete we can advance to the final step.
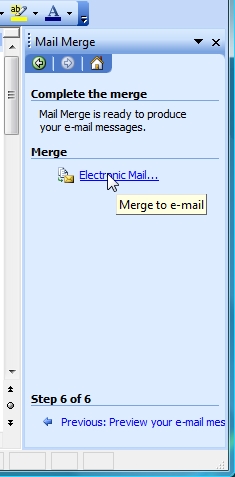
The merge will be completed differently depending on what format the final document is to take, for an email mail merge we will need to click on the 'Electronic Mail' option.
For the email option we can specify which email field from the contact fields should be used for the email address, enter a title for the subject line and select the format to be used for the email, please note if the mail merge contains hyperlinks this must be set to 'HTML' for the hyperlinks to work.
We have the option to specify the number of records to process, ideal if we wanted to test the final email or if we wanted to stagger the distribution of your mail merge.

When we are ready we can click on the 'OK' button.
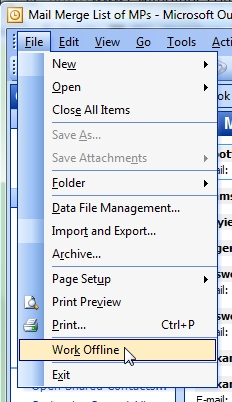
Please note that the emails will be automatically generated and sent immediately to the Outlook outbox and will use the default return address, if we did not want the emails to be delivered immediately (for example we might want to perform a final check first) we will need to take steps to delay the mailing. There are many ways this can be done, please consult your Outlook help documentation for full details, a simple method however would be to temporarily set the Outlook application to Work Offline prior to completing the mail merge process.
Passing a reference value with the survey's URL
It may be desirable to send a reference parameter with the survey URL so that each respondent can be identified. The standard format for passing a reference when using Survey Galaxy is as follows:
http://www.surveygalaxy.com/surPublishes.asp?k=9XXYPP8900277&Ref=0067
Where &Ref=0067 will pass the number 0067 to the survey where it will be stored as a reference with the response.
It would be logical to assume that the mail merge format to achieve the above would be to write the link in the source document file as follows, (where <<User 1>> is the Contact field that we mapped the reference value to):
http://www.surveygalaxy.com/surPublishes.asp?k=9XXYPP8900277&Ref=<<User 1>>
For technical reasons the above format will not create an active hyperlink in the merged email message. To add a hyperlink field around a mail merge field that will generate a hyperlink in the merged e-mail messages use the follow instructions:
- In the template document file put the insertion point where you want the hyperlink to appear in the e-mail message.
- On the Insert menu, click 'Field'.
- In the 'Field' names list, click 'Hyperlink', and then click 'OK'. The text "Error! Hyperlink reference not valid" appears in the document.
- Press ALT+F9 to open the { HYPERLINK \* MERGEFORMAT } field code.
- Put the insertion point after HYPERLINK and then add a space.
- On the Insert menu, click 'Field'.
- In the Field names list, click 'MergeField'.
- In the Field name text box, type the name of the data source field that contains the hyperlink, and then click OK. For example, if the name of the data source field is "Address1," the field code appears as follows: { HYPERLINK { MERGEFIELD "Address1" } \* MERGEFORMAT }
- Press ALT+F9 to close the { HYPERLINK { MERGEFIELD "<Field Name>" } \* MERGEFORMAT } field code.
- Put the insertion point at the start of the "Error! Hyperlink reference not valid" text, and overwrite the text with the hyperlink text that you want to appear. For example, overwrite the text with text such as CLICK HERE. - Important Make sure that you do not delete the whole field.
- Select the text that you typed in step 10. In the Style list, click 'Hyperlink'.
| 

